

The Concrete Overlay Process, Step by Step: What Happens During Your 3–4 Day Install
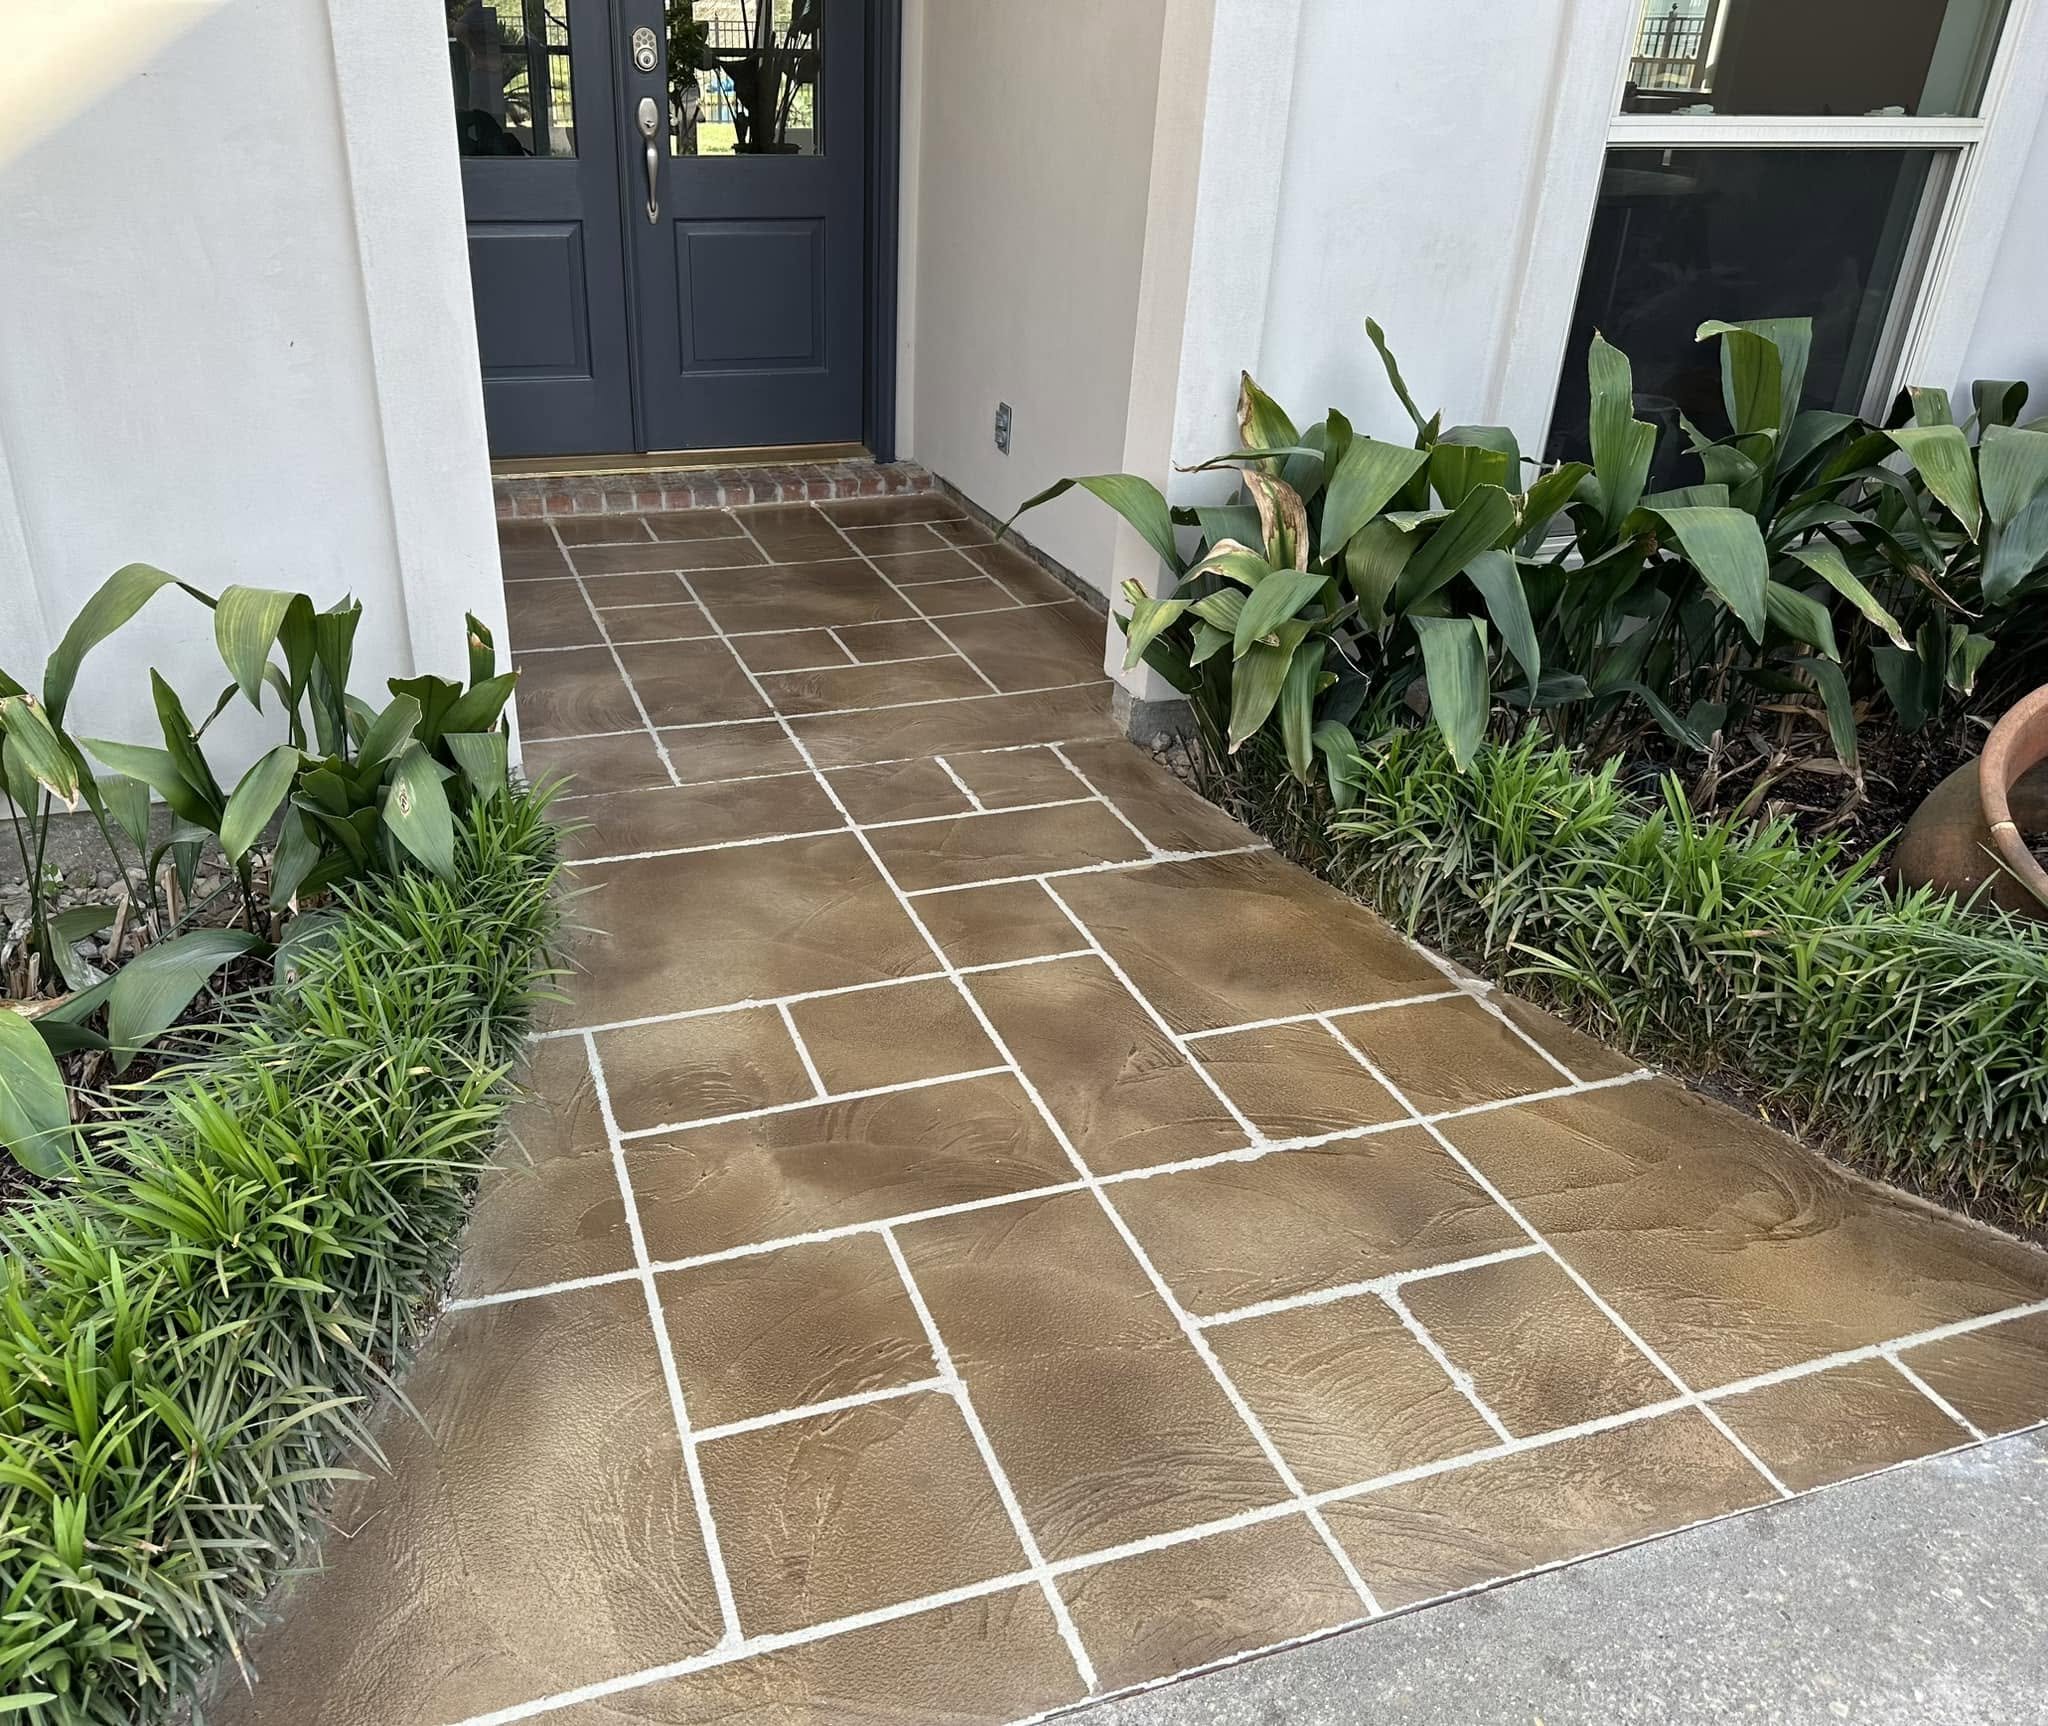
If you've never had decorative concrete work done before, it's natural to wonder what a crew is actually doing on your property for three or four days. A concrete overlay isn't just "paint on a driveway" — it's a layered system, and each layer has to go on in the right order, at the right thickness, and cure for the right amount of time before the next step can begin. Here's what a typical CTI System install looks like from the morning our crew arrives to the day you're walking on your new surface.
Day 1: Prep, Cleaning, and Crack Repair
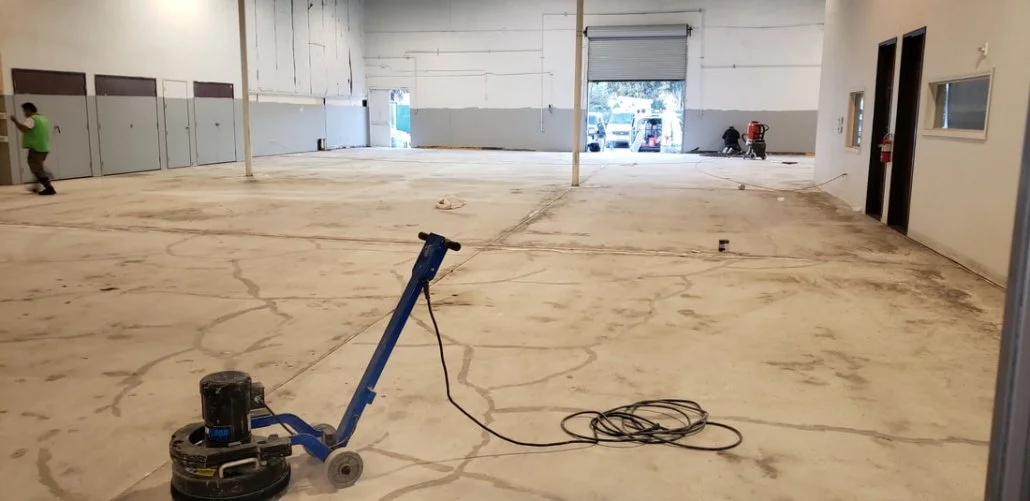
Everything about how well an overlay performs comes down to what happens on day one. Before any coating goes down, the existing concrete has to be properly cleaned and prepped so the new system bonds to it correctly.
Our team starts by pressure washing the surface to strip away dirt, oil, mildew, and any loose or flaking material. If the concrete has been painted or previously coated, it gets scarified or sandblasted first to expose the original surface underneath — coatings won't bond well to old paint, so this step can't be skipped.
From there, we address any cracks. Rather than just filling a crack flat, we grind it into a "V" shape and fill it with a two-part epoxy mixed with chopped fiberglass filament. This gives the repair something to grip on both sides of the crack instead of just sitting on top of it, which is why the large majority of cracks — roughly 90% — don't reappear. (Hairline cracks can occasionally telegraph back through over time, but the overlay's texture does a good job of hiding them if they do.)
If your slab has settled, heaved, or has low spots that collect water, this is also when we assess and correct the pitch. Existing control and expansion joints get masked off, since those joints need to stay free to move with the concrete — they won't get coated over.
Day 2: Base Coat
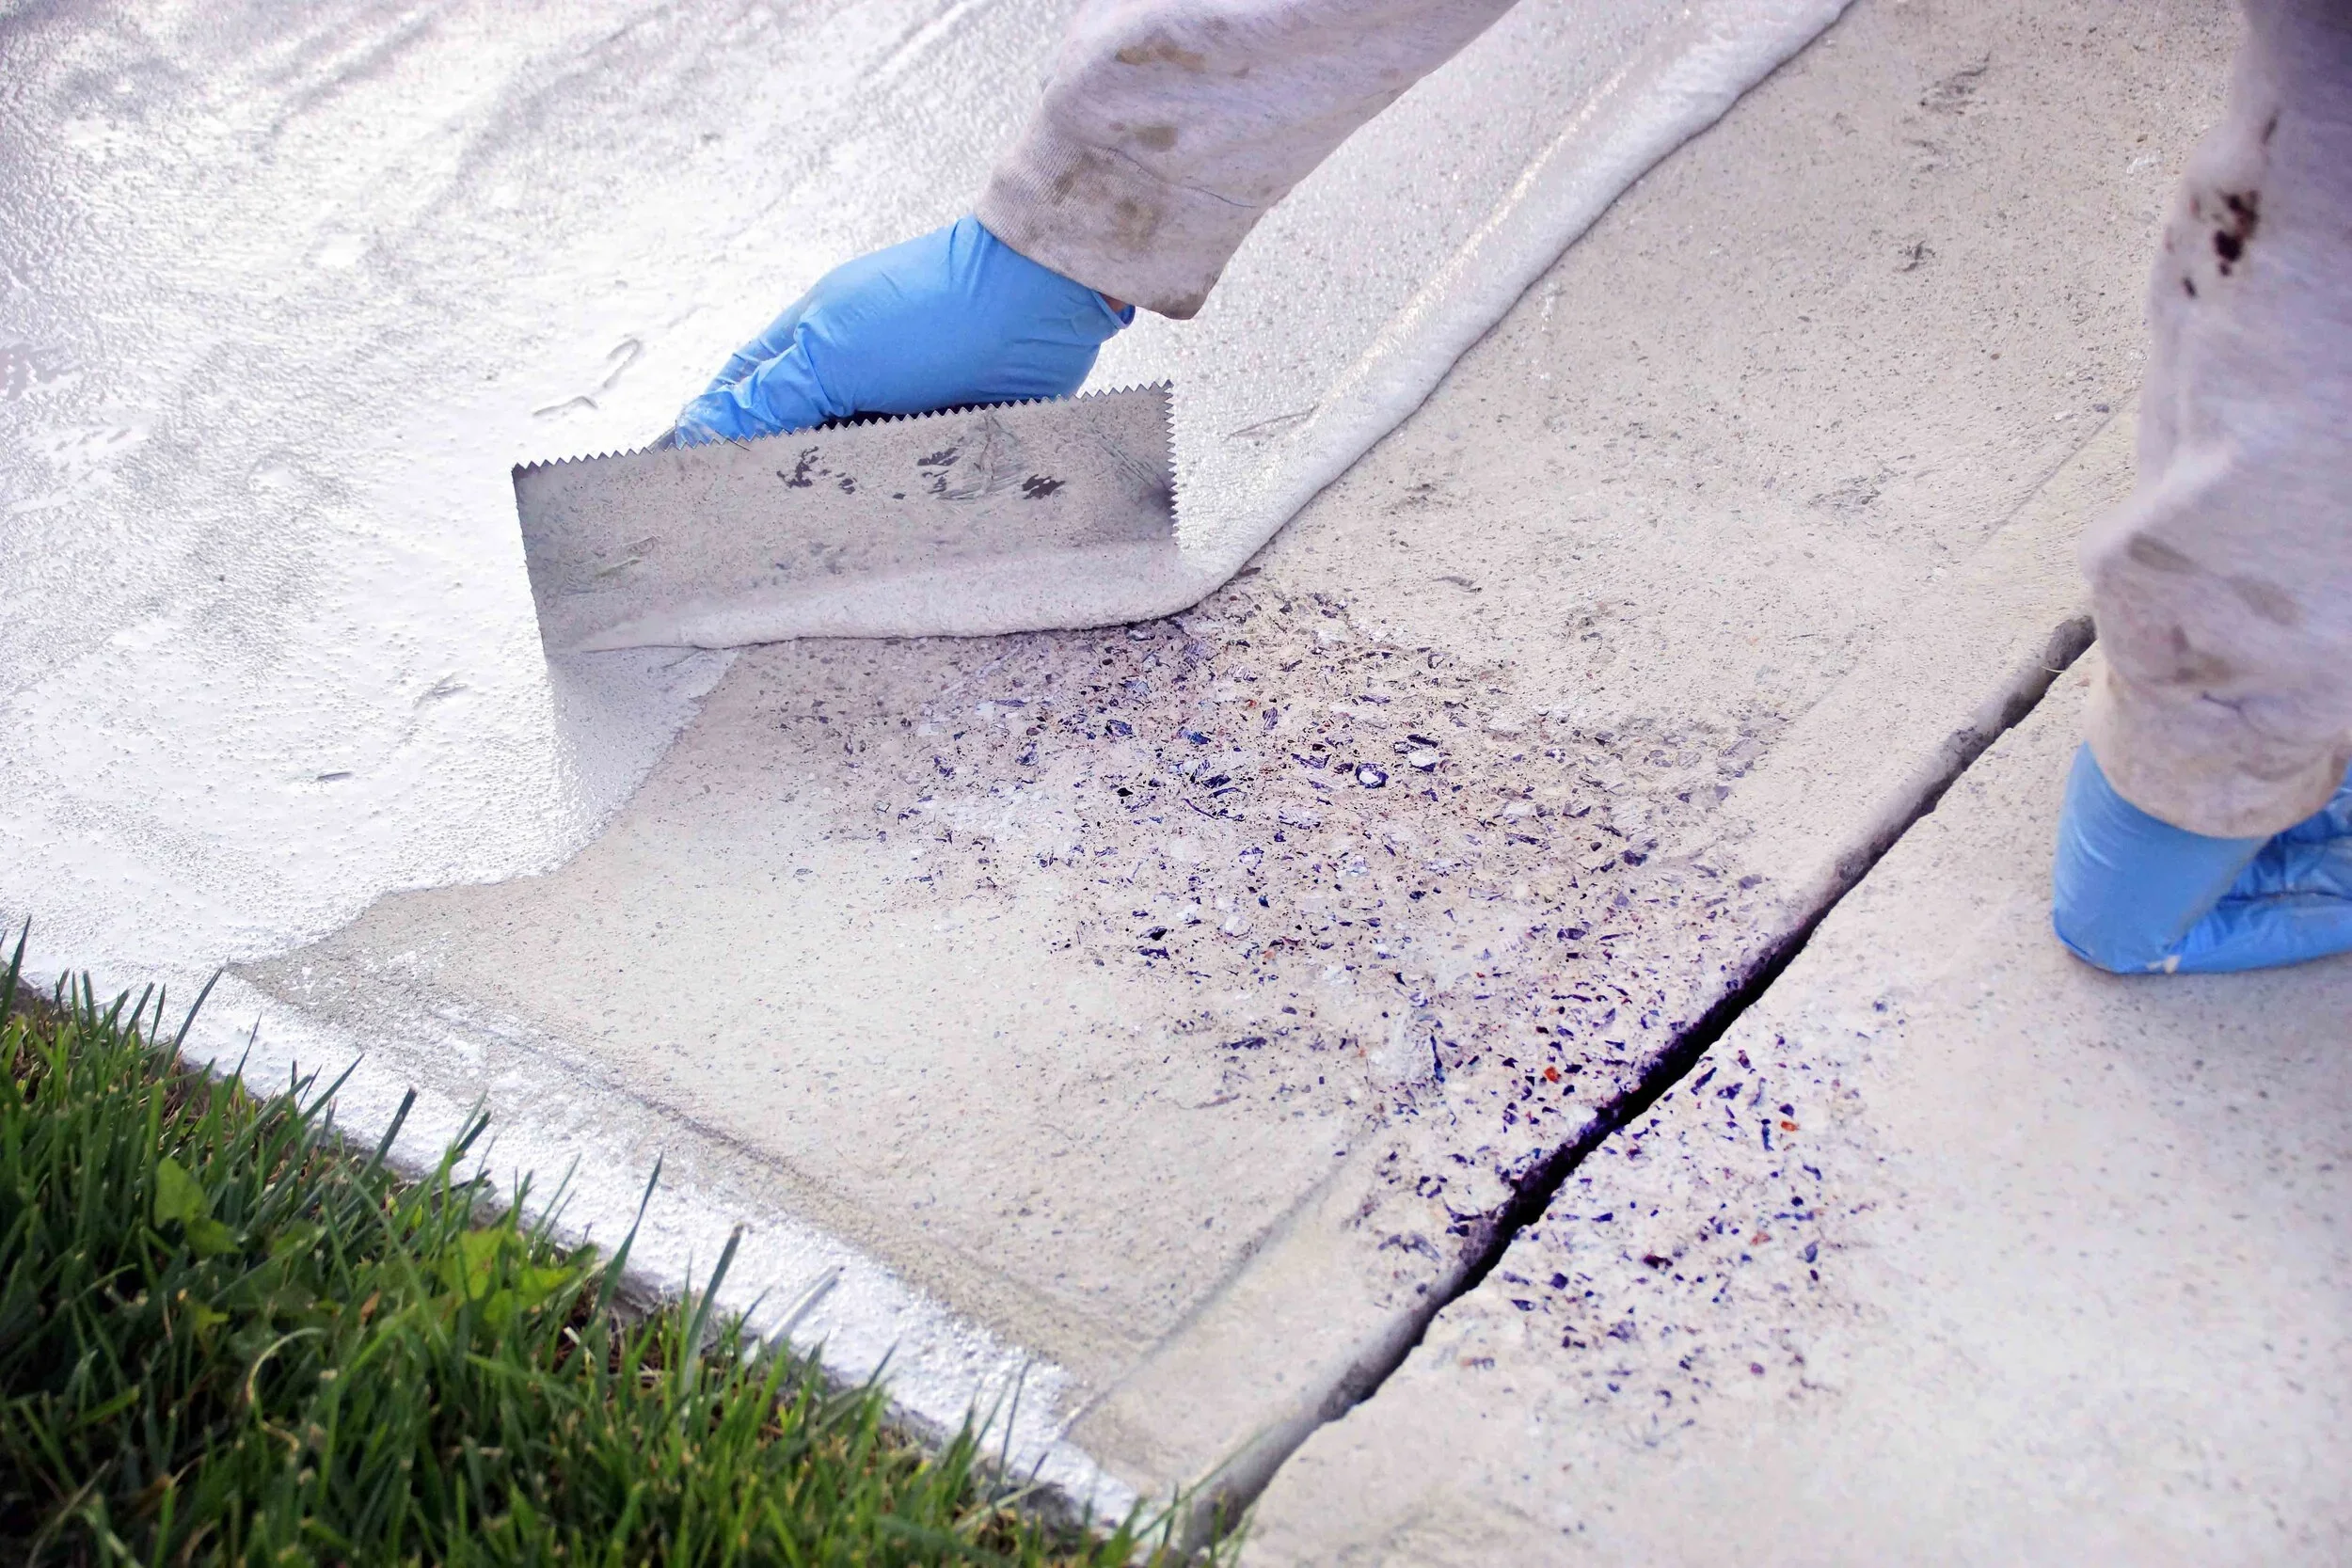
With the surface cleaned, repaired, and dry, we apply the base coat. This is the foundation layer of the CTI System — a color-integrated, modified acrylic cement product made from portland cement, silica sand, and acrylic resin. It's what gives the overlay its strength (CTI overlays cure roughly three times harder than standard concrete, around 7,000 PSI versus 2,000–2,500 PSI for typical concrete) and creates the surface the design layer will be built on top of.
The base coat needs time to cure before we move to the next step, which is one of the main reasons this process takes multiple days rather than one.
Day 3: Design Layer and Texture
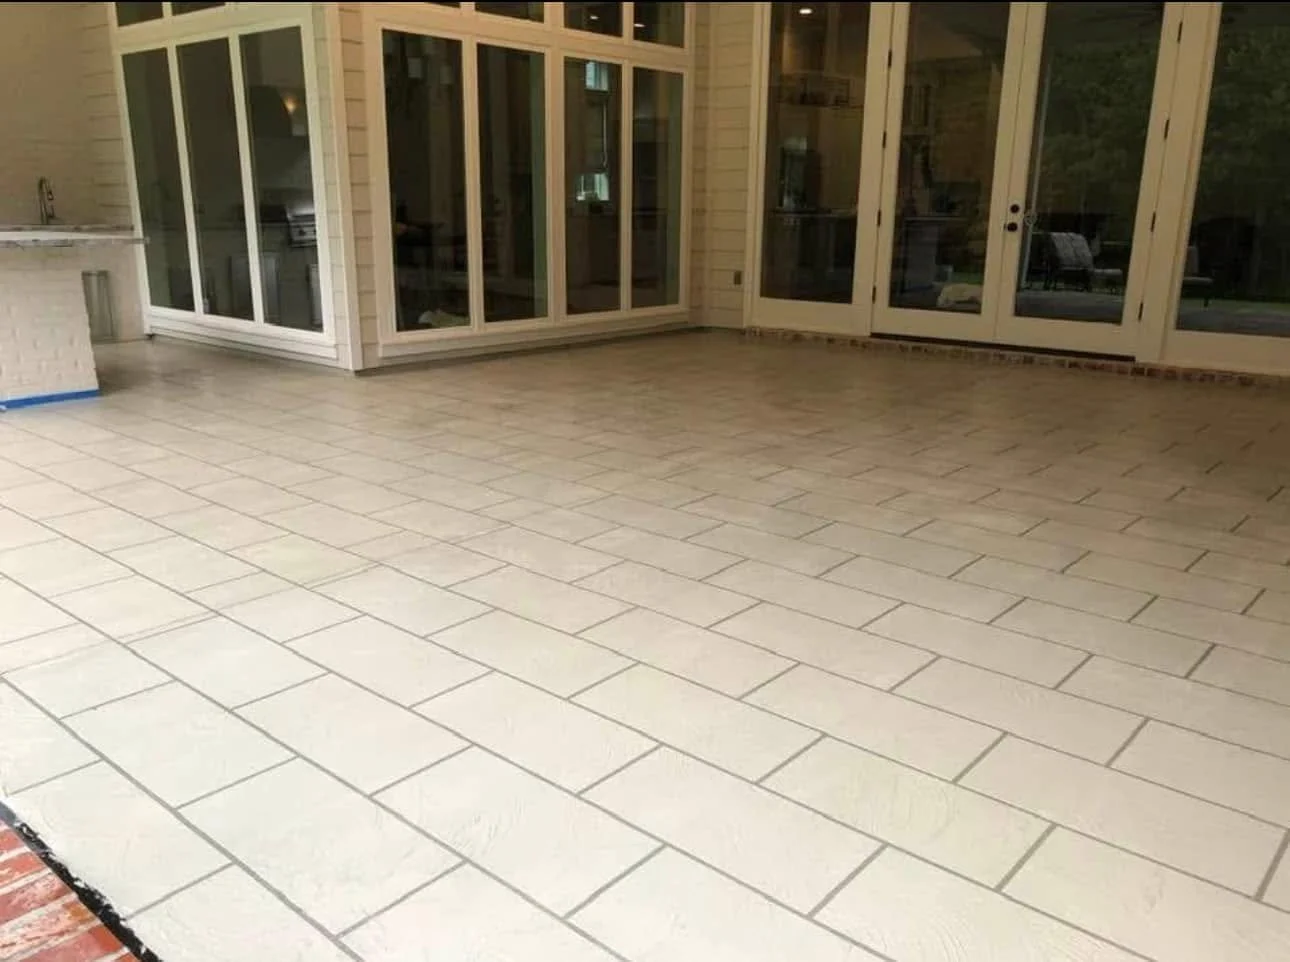
This is where your surface starts to look like the finished product. We apply the design layer — the coat that carries the color and pattern you chose, whether that's a stone, slate, tile, or brick look, or a custom color blend. While it's still workable, we apply the texture using the technique and pattern selected for your project, which is also what determines slip resistance. Pool decks and walkways, for example, are typically textured for more traction than an interior floor would need.
Because this layer is sprayed or applied in multiple passes to reduce rebound and waste, steps, risers, and even vertical surfaces like walls can be coated using the same process if your project calls for it.
Day 4: Sealing and Final Topcoat
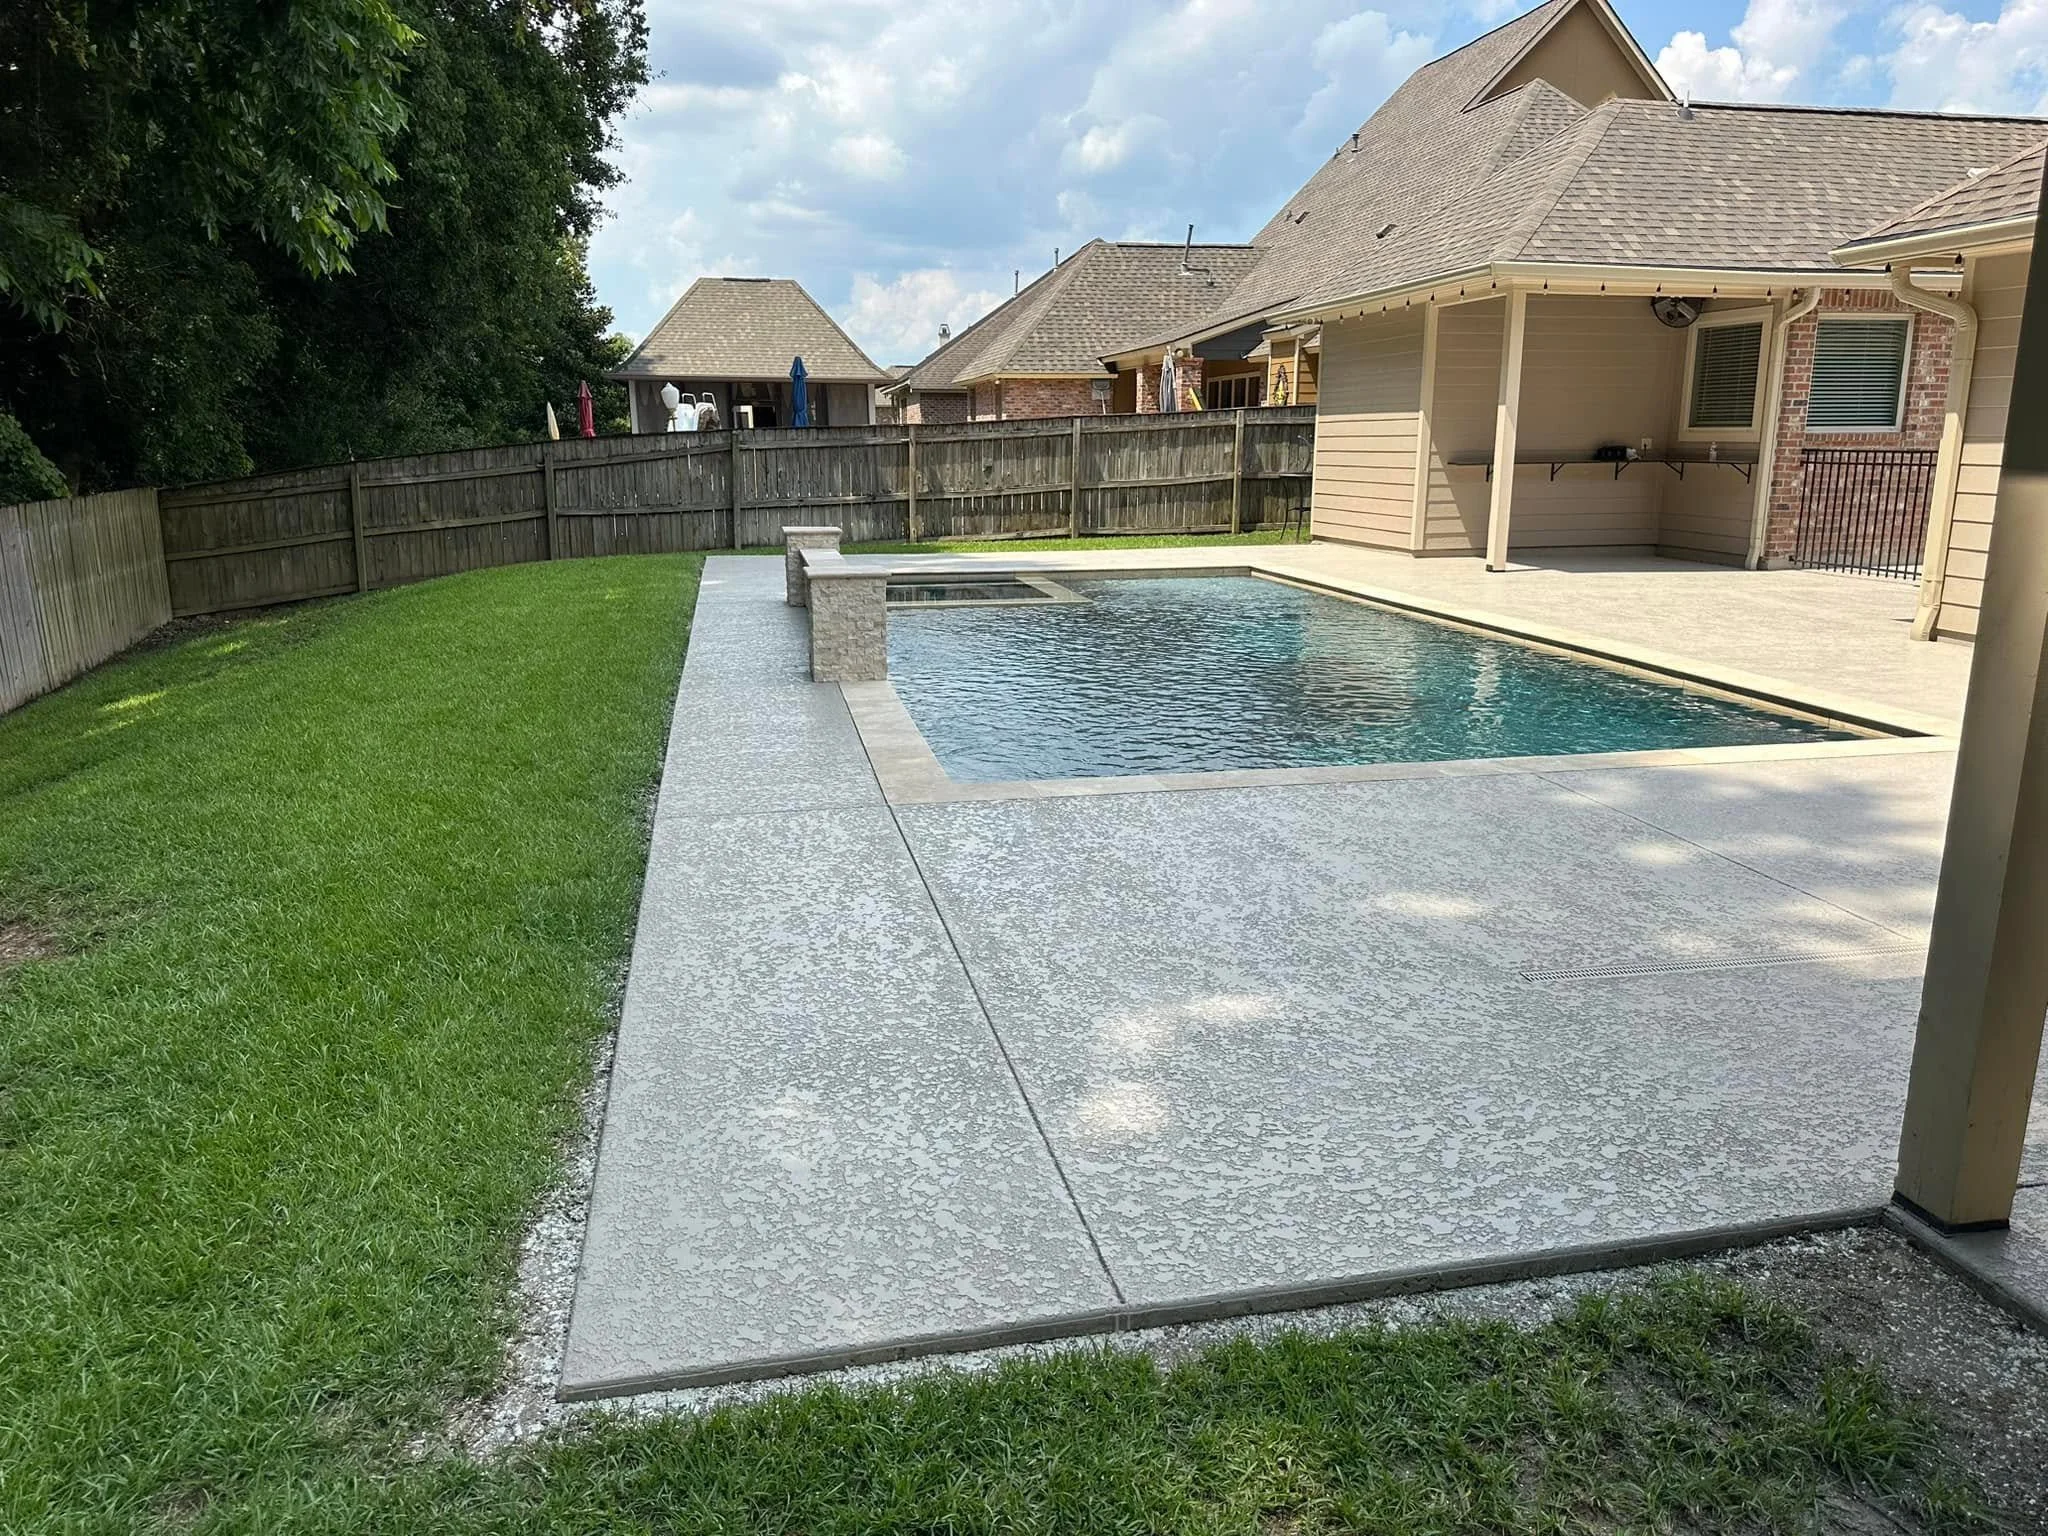
The last step is a clear protective topcoat, applied in multiple coats to seal and protect everything underneath it. This topcoat is what makes the surface non-porous and resistant to stains, chemicals, mold, and mildew — it's also what gives the system its fade resistance and chemical resistance, including standing up to pool chemicals like chlorine and muriatic acid without staining.
Once the final coat is down, it needs time to cure before foot traffic. In most cases, light foot traffic is fine the same day, but we'll give you specific guidance for your project since cure time can vary slightly with weather and humidity.
What Can Affect the Timeline
Three to four days is typical, but a few things can extend it:
Extensive crack or damage repair. A slab with significant cracking or settling needs more prep time before coating can begin.
Weather. Humidity and temperature affect cure time between coats, so a stretch of rain or unusually high humidity can push the schedule back.
Larger or more complex areas. A big pool deck with multiple patterns or colors, or a project that spans a patio, walkway, and driveway together, takes longer than a single garage floor.
What to Expect Once It's Done
You don't need to drain your pool for a pool deck resurface — we just manage overspray so it doesn't settle into the water. Cleanup on your end is simple going forward, too: a regular hose-down keeps most surfaces looking new, and stubborn spots can usually be handled with a brush and a little laundry detergent. Every CTI System install is backed by a three-year limited material warranty covering dramatic fading, delamination, and product failure, and the material itself is repairable down the road if it's ever damaged.
Ready to See the Process on Your Property?
Every slab is a little different, which is why we walk every project with a free, in-person estimate before we ever schedule an install date. If you're curious what your patio, pool deck, driveway, or garage floor could look like, schedule your free estimate and we'll map out exactly what the process would look like for your space.
Frequently Asked Questions About the Overlay Process
Do I need to move out or stay off the property during the install? No. You can stay home and go about your normal routine — just plan to keep the work area itself clear of foot traffic, pets, and parked cars until each layer has cured.
How thick is the overlay once it's finished? It depends on the surface and repair needs, but most overlay systems add somewhere between 1/16" and 3/4" over the existing concrete, with the design coats themselves typically running 3/32" to 1/8". It's thin enough that it won't create a noticeable lip at doorways or pool edges in most cases.
Can the crew work around my schedule if I have a pool party, guests, or an event coming up? We plan install dates around your calendar during the estimate, and we'll tell you upfront if weather or repair work might push the timeline so there are no surprises close to your event.
What if it rains during the install? Each layer needs to cure before the next one goes on, so rain or unusually high humidity can add a day or more to the schedule. We monitor the forecast and will let you know as early as possible if a weather delay is likely.
Will I be able to park in my garage or driveway during the process? Not on the section actively being coated — that area needs to stay clear until it's cured. If we're only doing part of your driveway or a single-car garage, we'll talk through parking options with you before day one.
How soon can I walk on the surface, and how soon can I put furniture or a grill back on it? Light foot traffic is usually fine the same day the final topcoat goes down. We recommend waiting a bit longer — typically a few days — before moving heavy furniture, grills, or planters back into place, and we'll give you a specific timeline based on your project and the weather.
Does the crew handle disposal and cleanup, or is that on me? Cleanup is on us. We remove masking materials, debris, and any leftover product before we consider the job finished — you shouldn't need to do anything but enjoy the new surface.
Ready to See the Process on Your Property?
Every slab is a little different, which is why we walk every project with a free, in-person estimate before we ever schedule an install date. If you're curious what your patio, pool deck, driveway, or garage floor could look like, schedule your free estimate for concrete resurfacing in Denham Springs, and we'll map out exactly what the process would look like for your space.